
Terminal Login & Activation
Activate your Android POS terminal in Production mode using instant QR scanning or 8-character manual code authentication.
The POS login screen
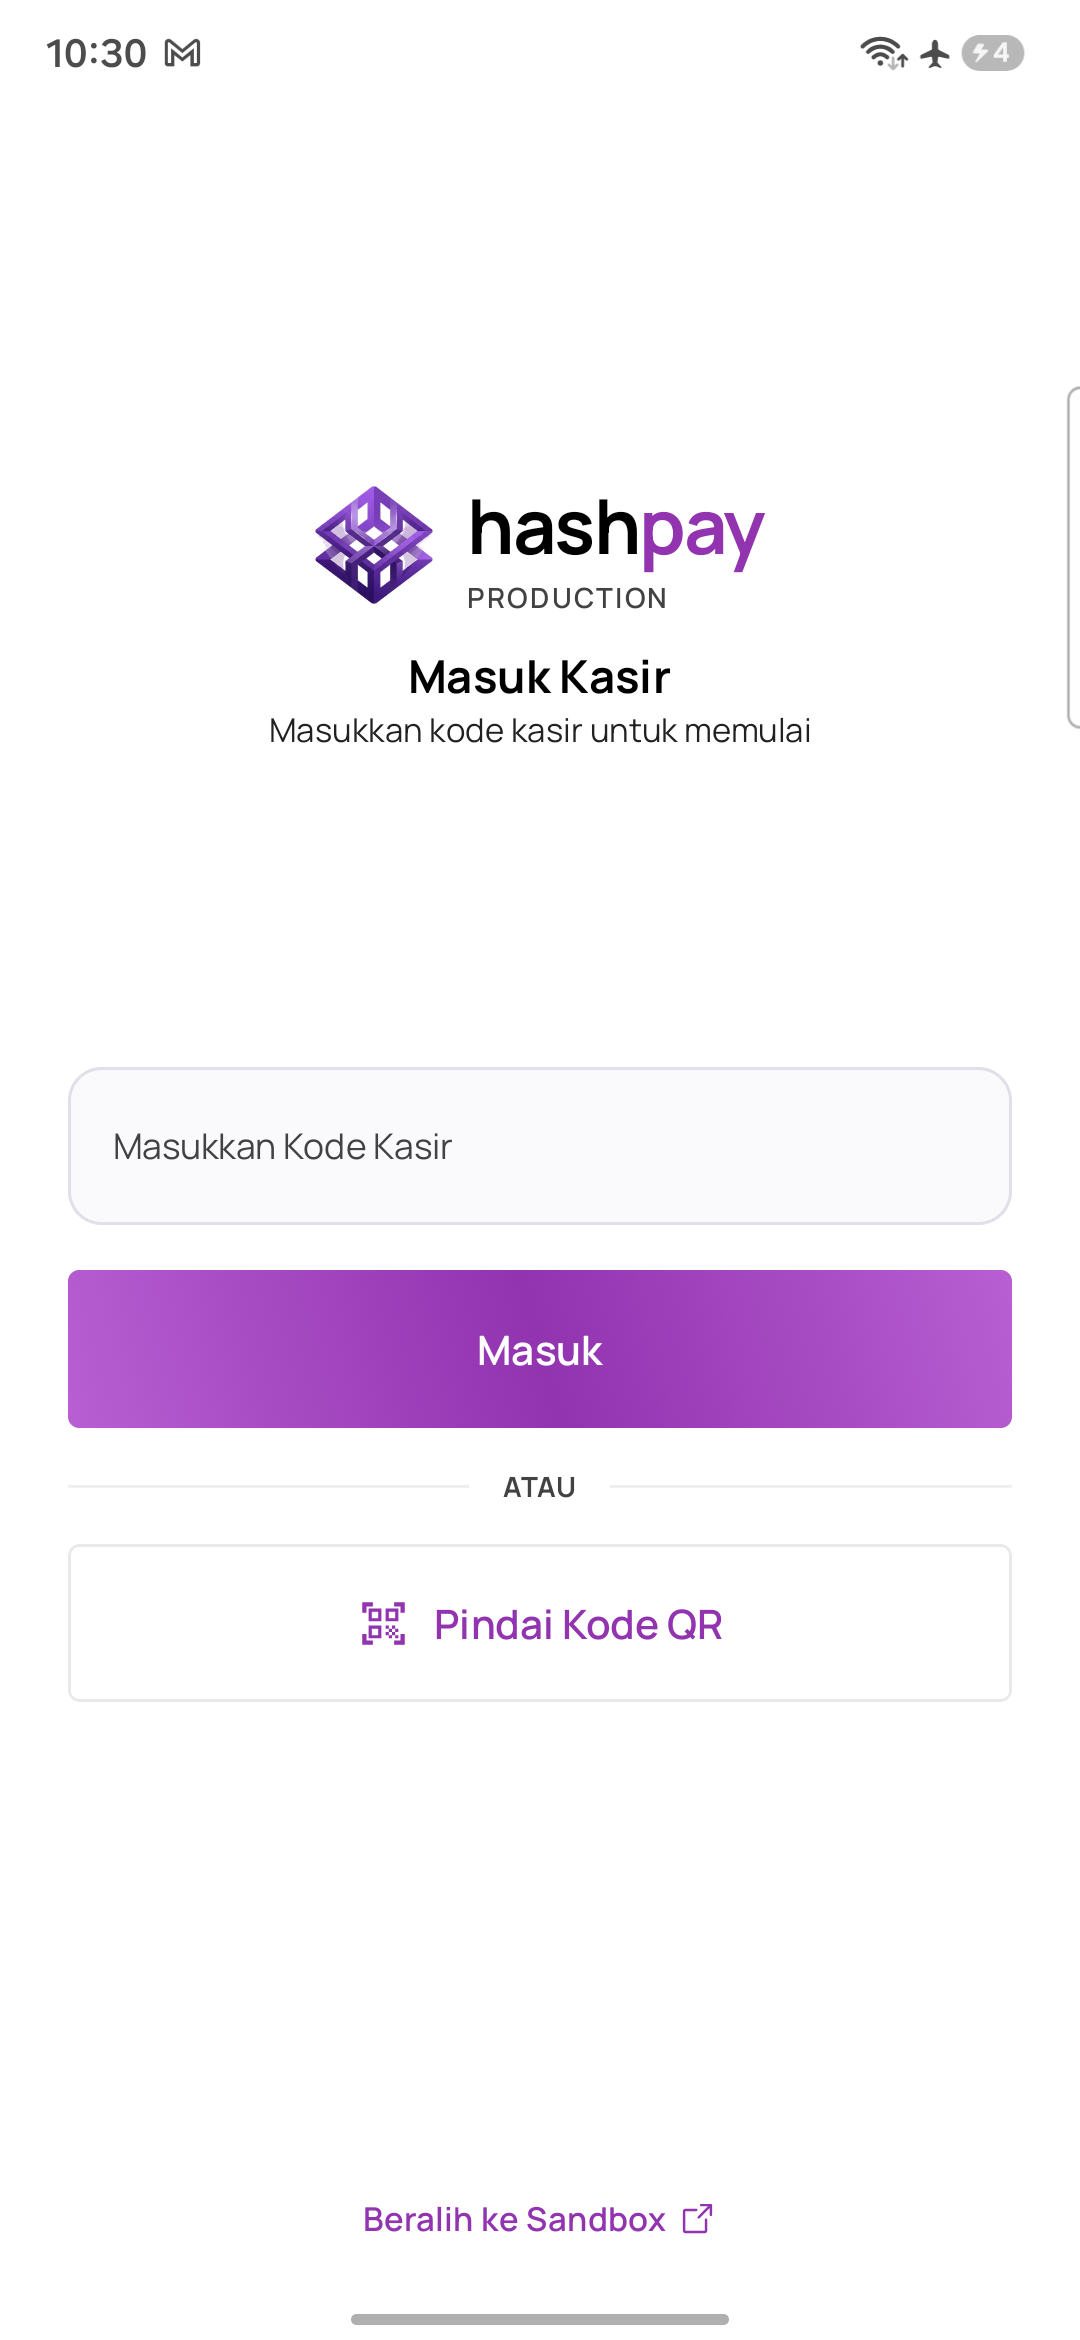
When opening the Hashpay POS app on your Android smart EDC or smartphone, you are greeted with a clean terminal activation screen:
- Environment Indicator — The header shows
PRODUCTIONin brand purple, confirming the terminal will record real transactions on live blockchain networks. - Cashier Code Input Field — Where cashiers type the 8-character pairing code.
- Sign In Button — Authenticates the pairing credential and launches the assigned cashier session.
- Scan QR Code Option — Directly activates the device camera for fast 5-second optical pairing.
- Sandbox Switch Link — A subtle text link (*'Beralih ke Sandbox'*) at the bottom used for staff training sessions.
Method 1: Scan QR code (Recommended — 5 Seconds)
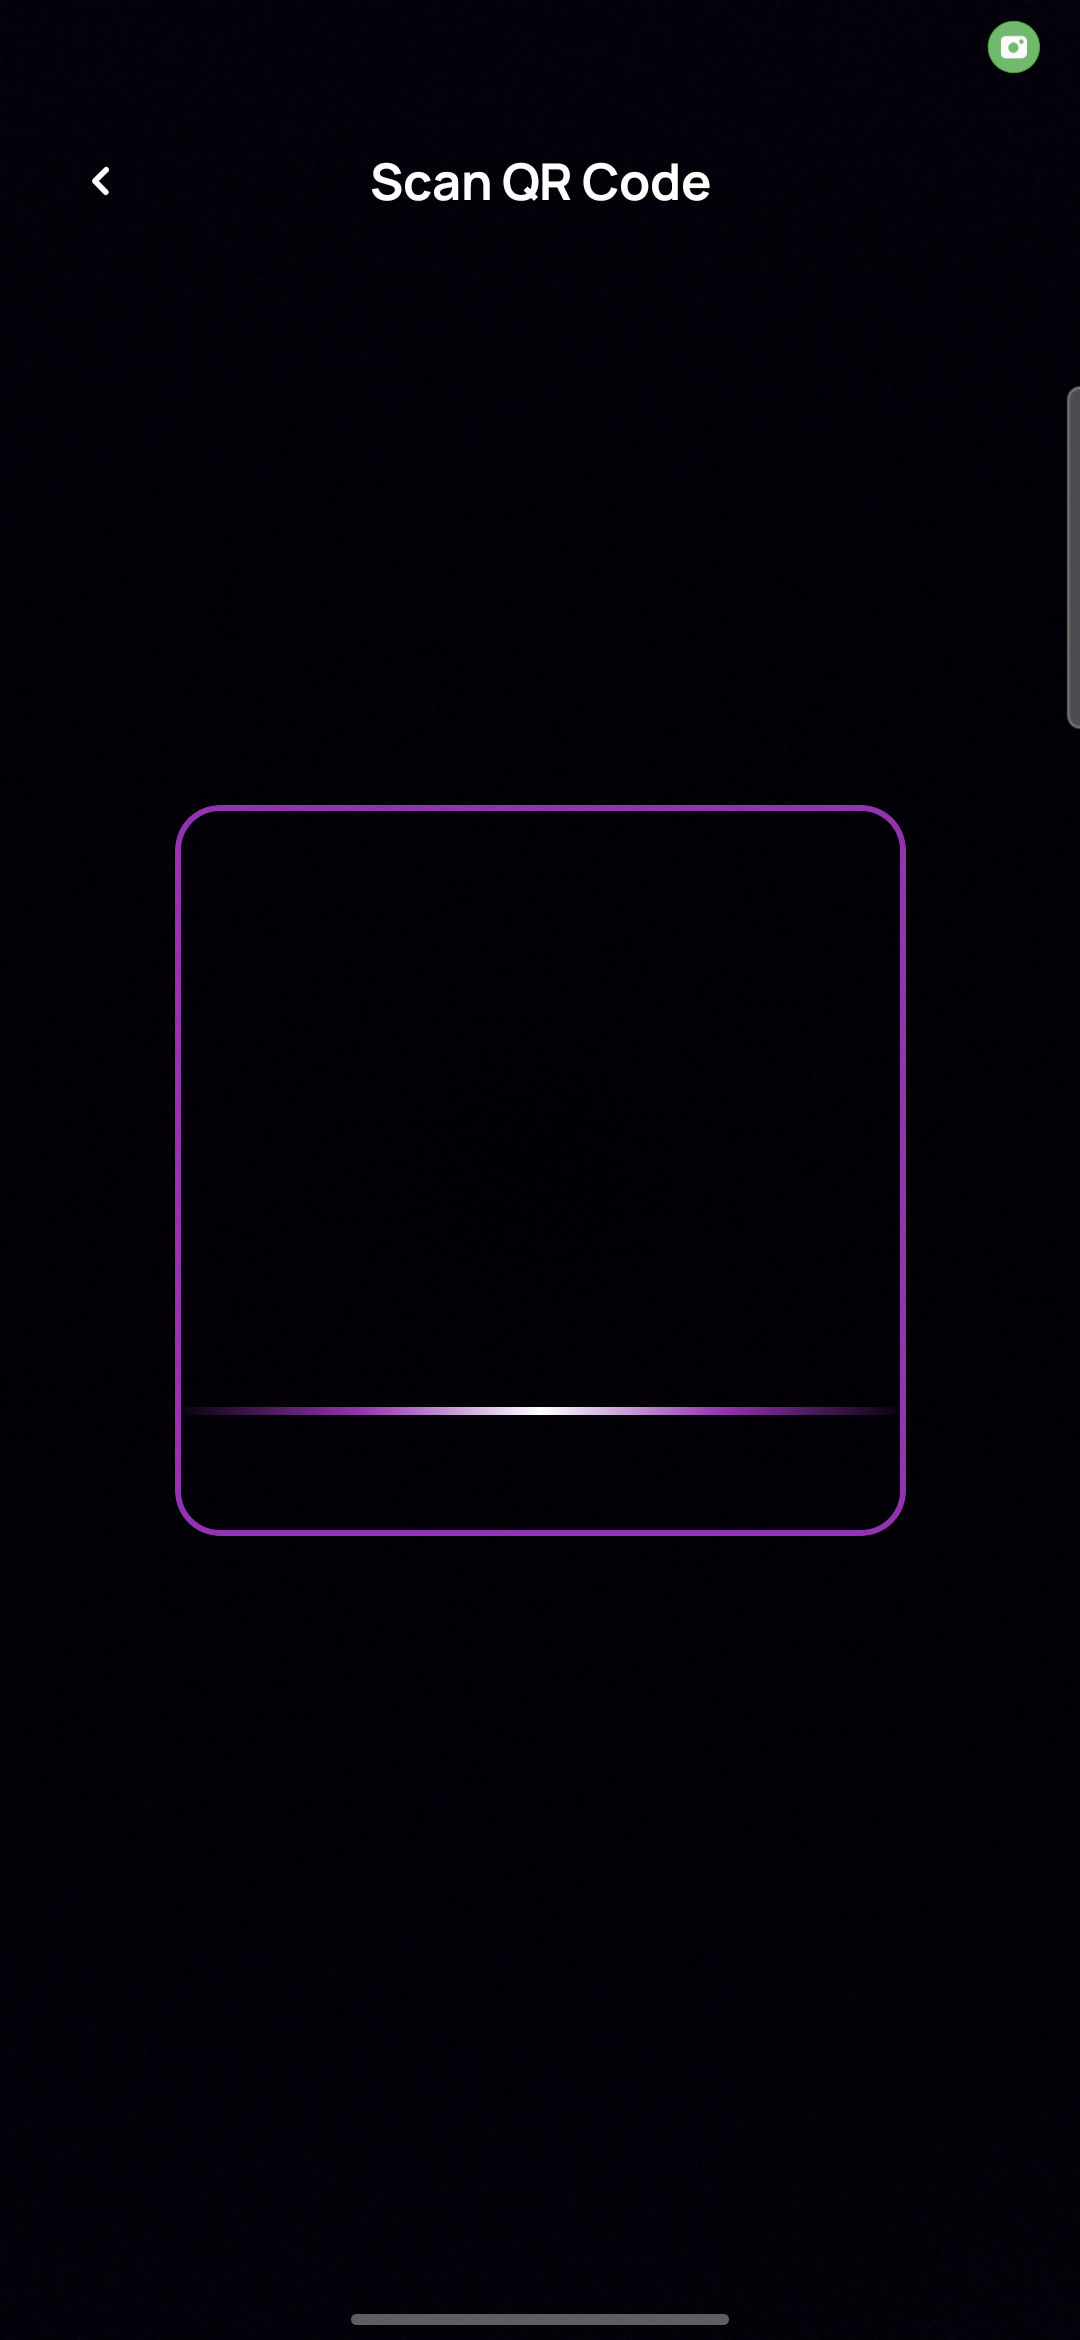
- Tap 'Scan QR code' — Open the camera scanner on your EDC terminal.
- Align Viewfinder — Point the terminal's rear camera at the pairing QR code displayed in the web dashboard.
- Instant Auto-Login — As soon as the QR is recognized, the terminal authenticates immediately with zero extra taps required. The screen transitions directly to the main transaction keypad.
Method 2: Manual 8-character code entry
- Read Code from Dashboard — Take note of the 8 uppercase characters (e.g.
OYA8DZCT) shown in the merchant portal. - Type Code into Field — Tap the input box on the POS screen and enter the characters.
- Tap 'Sign in' — The terminal validates the code against the Hashpay server and loads your cashier profile within 1–2 seconds.